
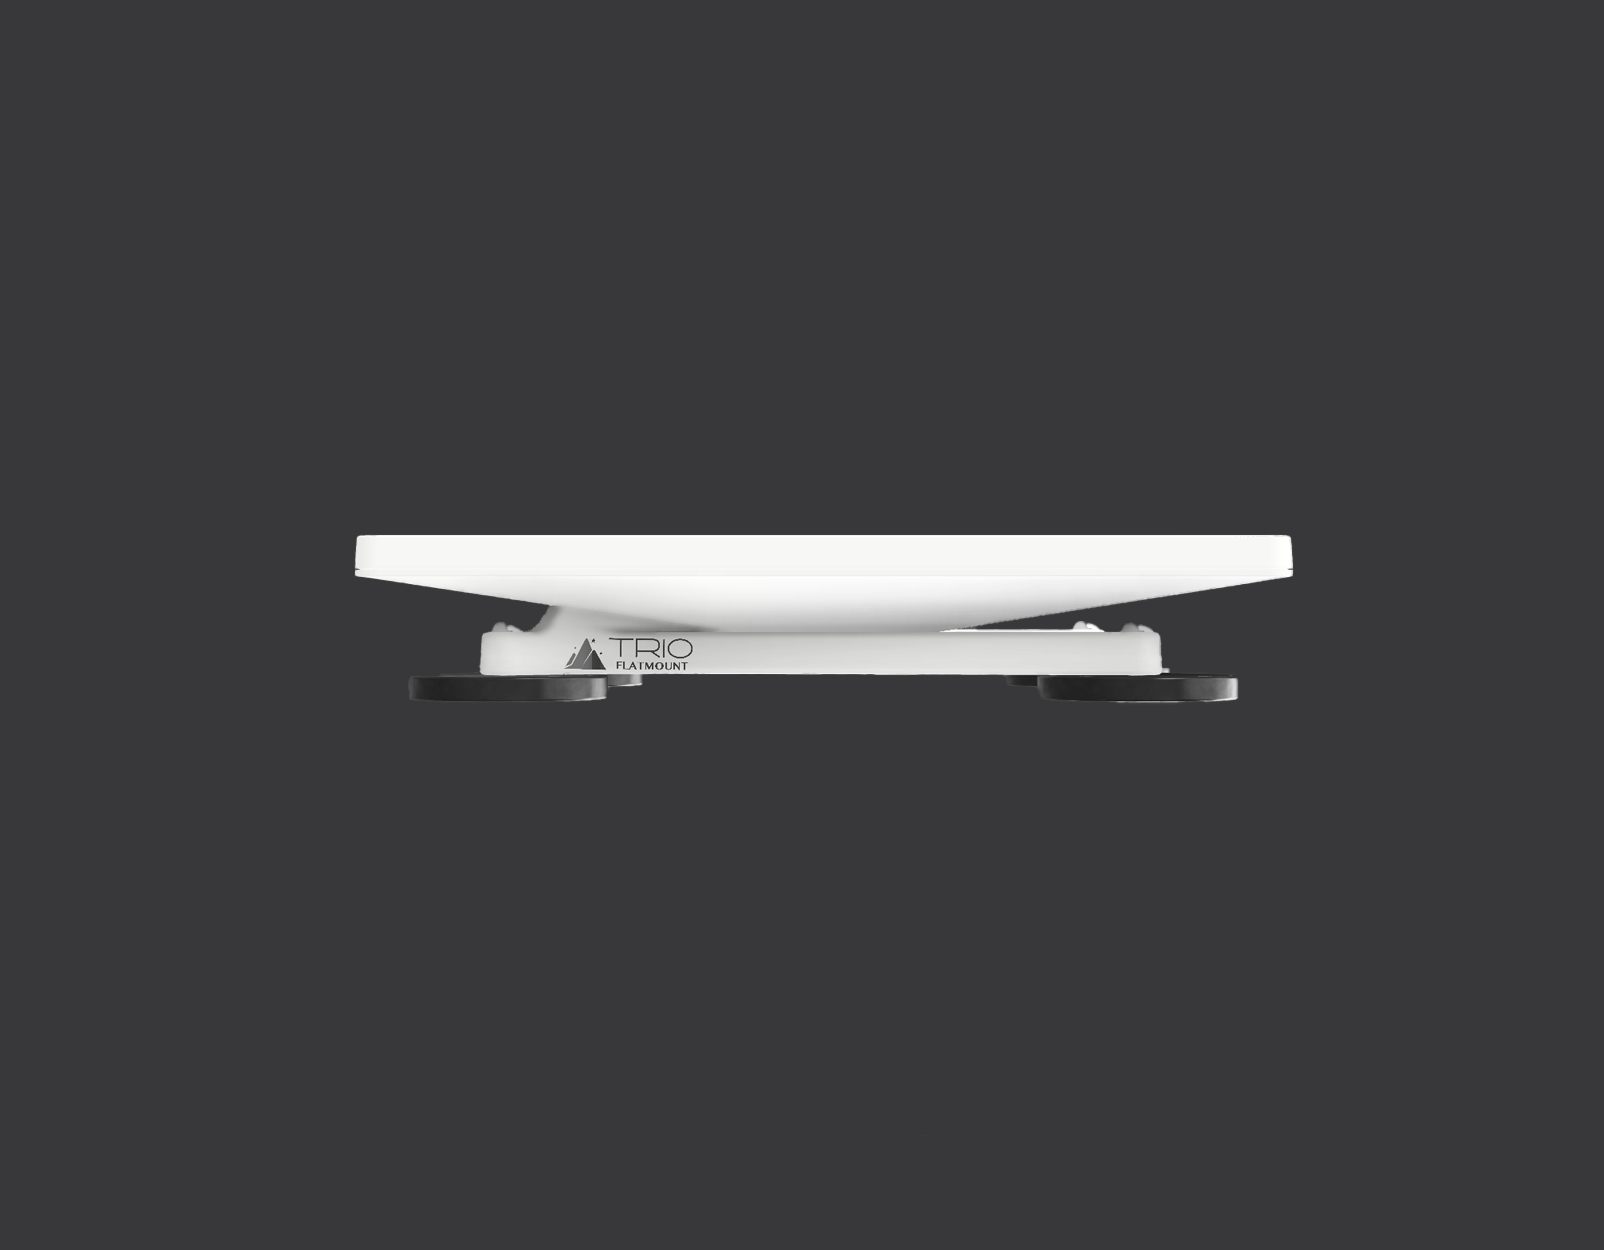
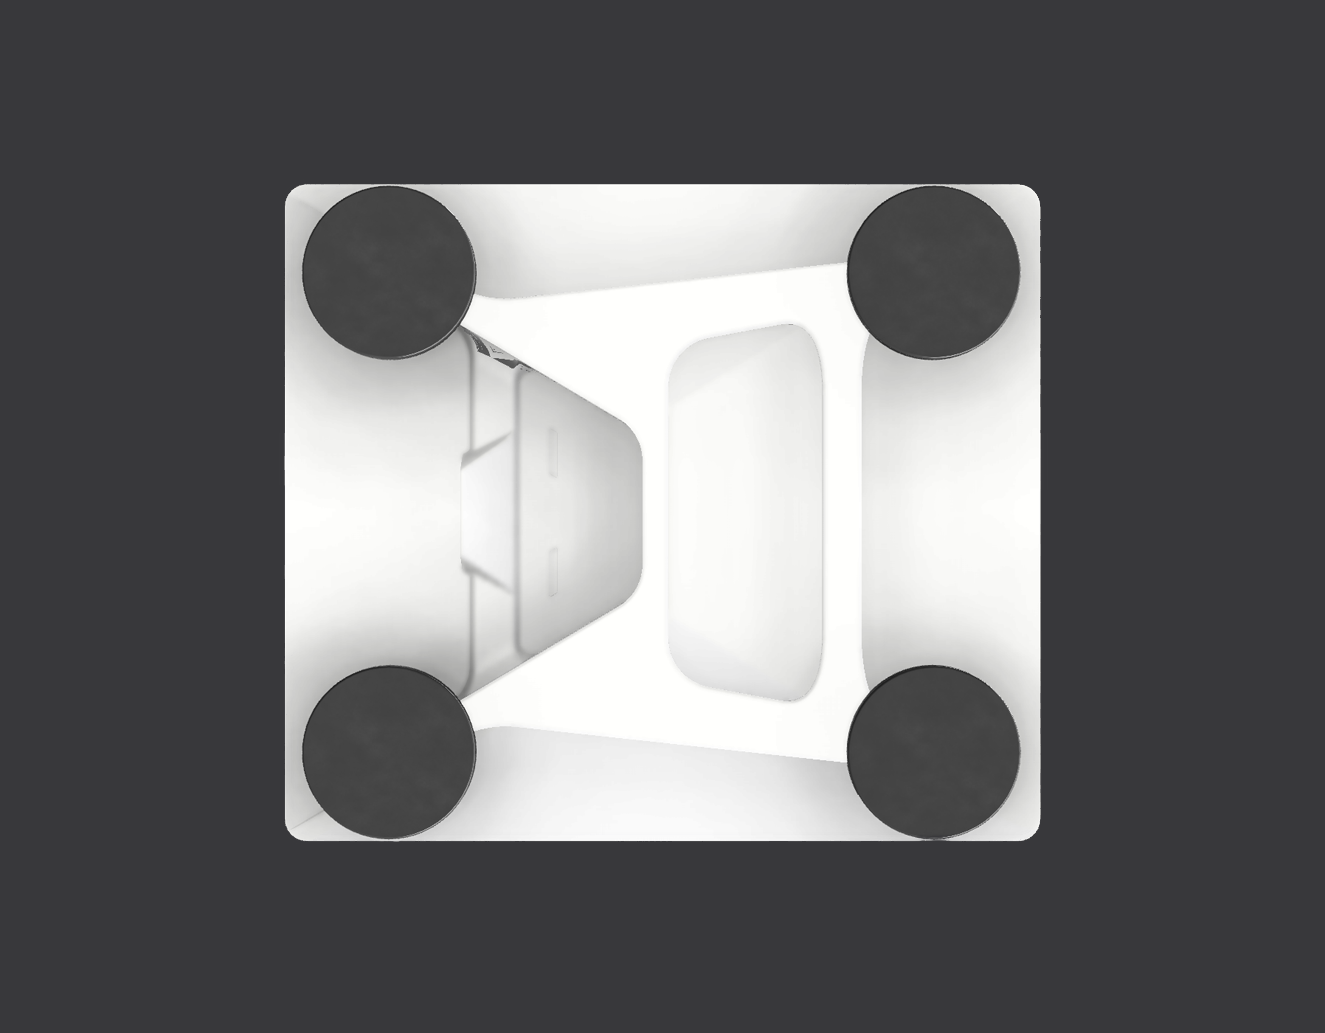
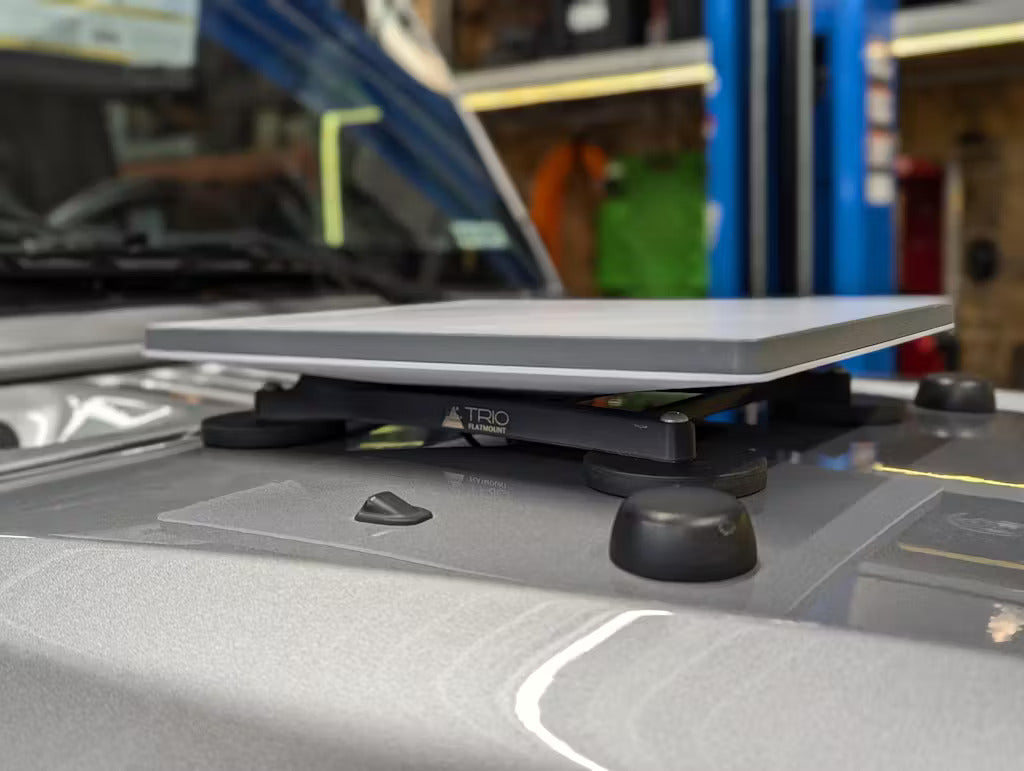


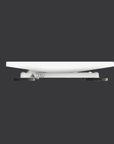

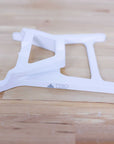
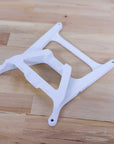
Mini Flatmount
Need a a Power Cable?
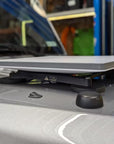
The TRIO Mini Flatmount is the perfect, low profile solution for mounting your StarlinkMini dish in a secure and convenient way. With various mounting options, you can take the Mini wherever you need to go. Simply click your dish into the Mini Flatmount and begin your adventure!
This mount, manufactured from ASA, is intended for permanent or temporary installation on any vehicle: Vans, RVs, Box Trucks, Campers, Boats, Sailboats, etc, and even allows you to strap the Mini onto your backpack!
NOTE: If you have a curved roof, the mount itself has slight flex but you may need to use our swivel leg adapters for maximum surface area contact when using rubber coated magnets, VHB landing pads, or suction cups. Please add to your order if required.
** Strength: This mount has been designed to be used (and has been tested) in normal driving conditions and turbulence but it is recommended to install behind another item (e.g. AC unit, storage box, etc) for wind dampening and to protect the dish. It is ultimately up to the end user to make sure the antenna mount is secured appropriately.
For additional info and mounting instructions, see below.
Customer Reviews
It was “ok”. Definitely done on a 3d printer which is fine. The finish though was rough. Once installed on the antenna though you can’t remove it. Otherwise itvwas as advertised.
This is an excellent mount for intended purpose. It appears to be 3D printed and finish is a little rough in some places but doesn't affect function. Opted for magnetic mount with magnetic/VHB disc pads for composite caravan roof. Mount can easily be removed from magnetic pads and then optionally used on another vehicle or metal surface using magnetic mounts. Magnetic strength is rock solid and will not move during motion. A great solution for us, but international shipping costs to Australia took the shine off purchase and would have pulled the plug if I hadn't invested so much time reviewing and researching product. Lastly, the mini is difficult to remove from the mount and I forgot to order the little tool available as an extra, but don't intend to remove it very often or at all. Hope this helps potential purchases from O/S. Would I purchase again? Yes.
Super clean install with magnet/VHB tape. Did not plan on keeping the Mini in the Flatmount 100% of the time. Not sure how difficult it will be to remove Mini from Flatmount.
I love this mount. I own a customs shop and run this on my personal Jeep. My customers also have had the same "what a cool mount" reaction I did.


The Trio Flatmount arrived in Australia in less than a week. It was everything that I expected but way stronger. The rubberised magnets are very powerful and once fitted did not move even at speed. The mount clipped into the mini easily and was also easily removed with the removal tool that made separation a dream. Our mini performed 100% when mounted. This is a quality product, robust and reliable. I would highly recommend the Trio Flatmount