
Gen 3 Standard Flatmount

from US$150.00

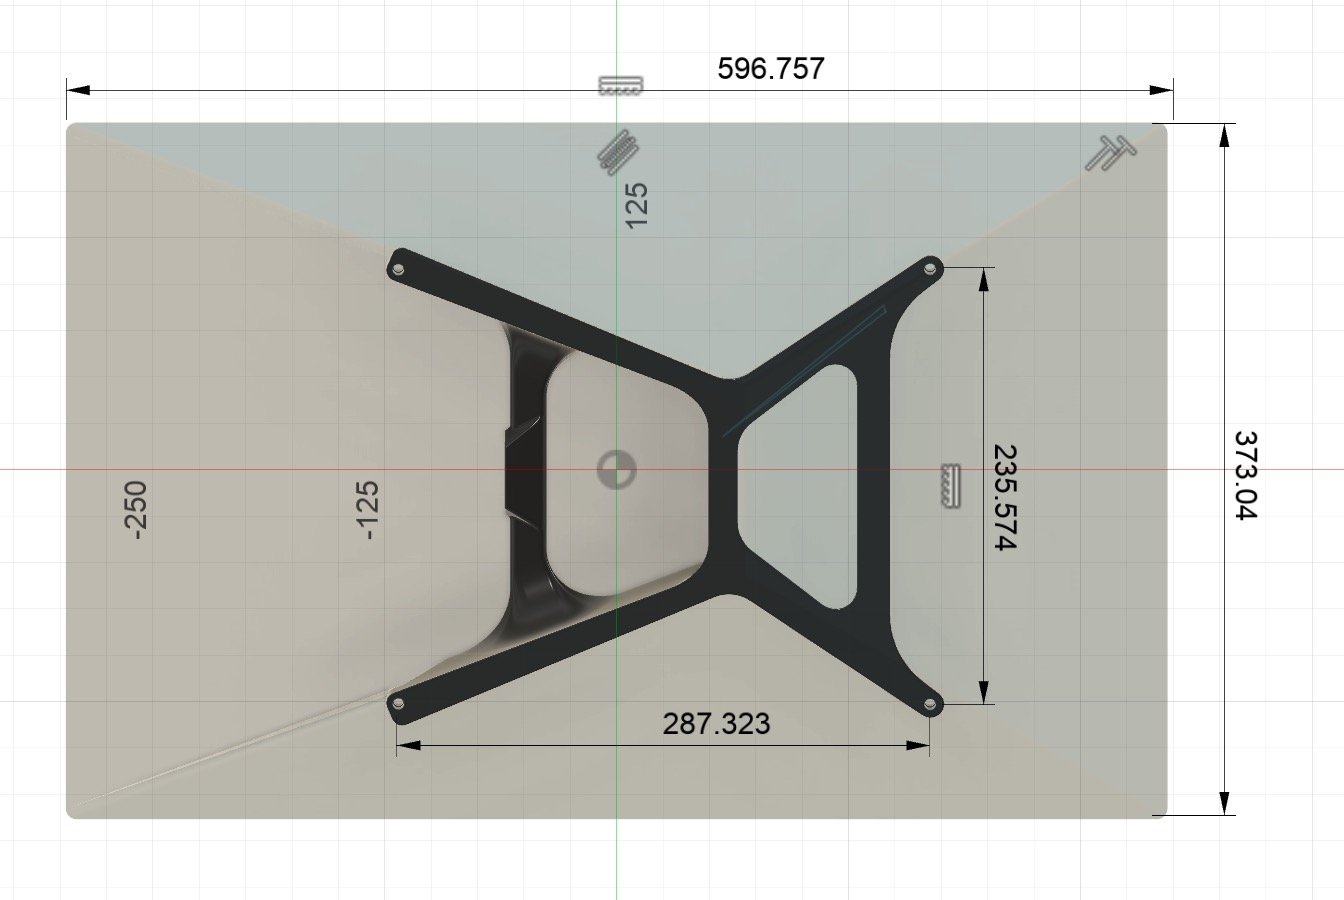
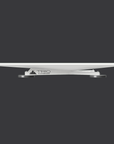
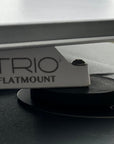
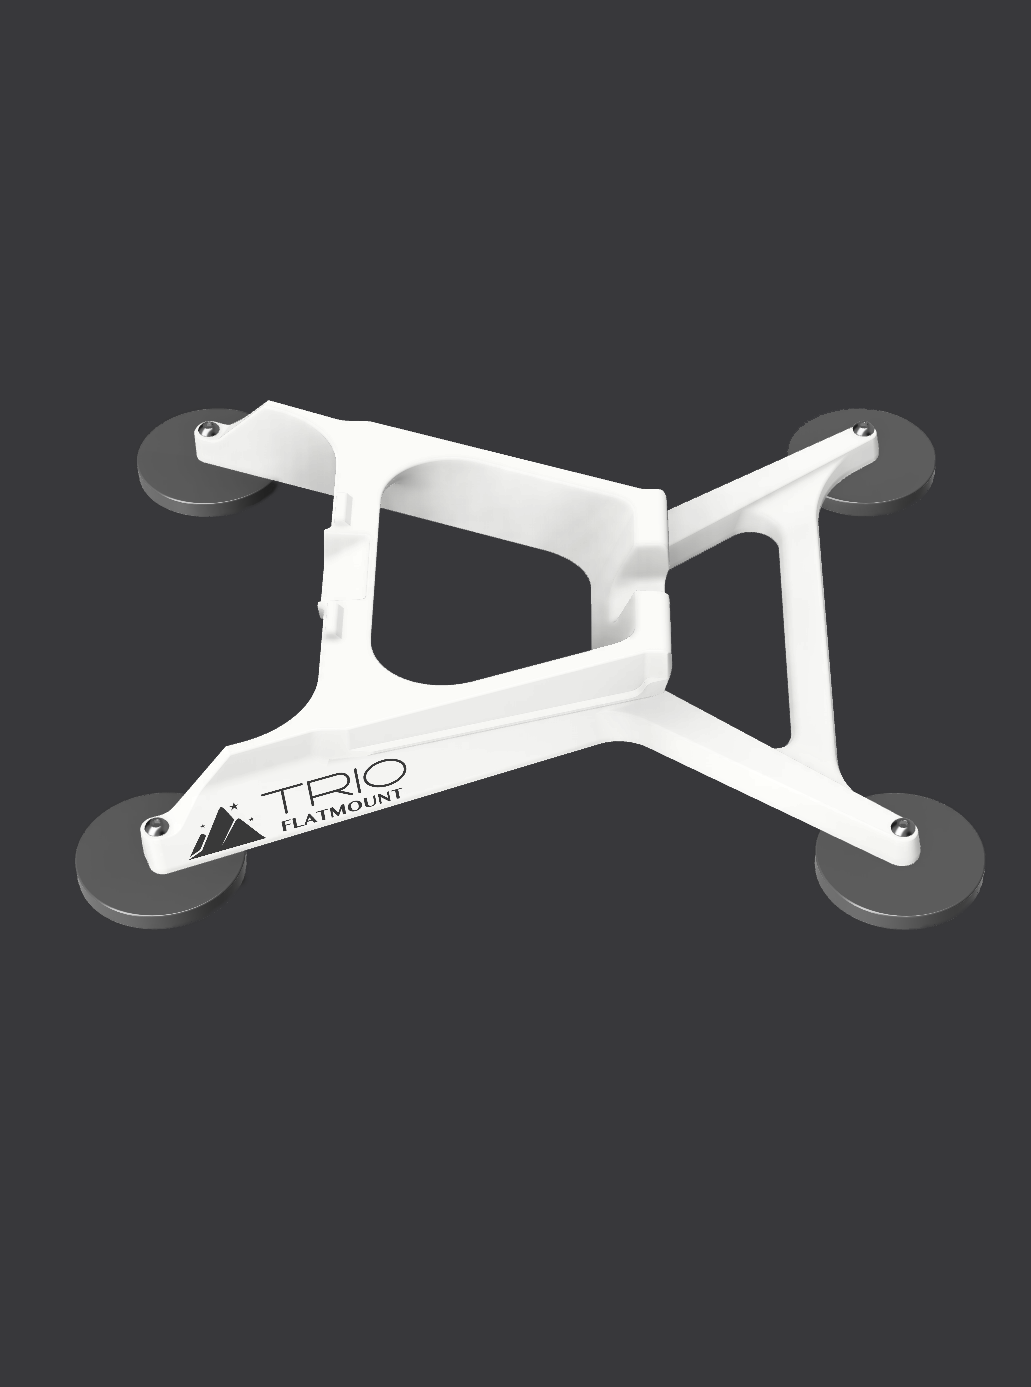
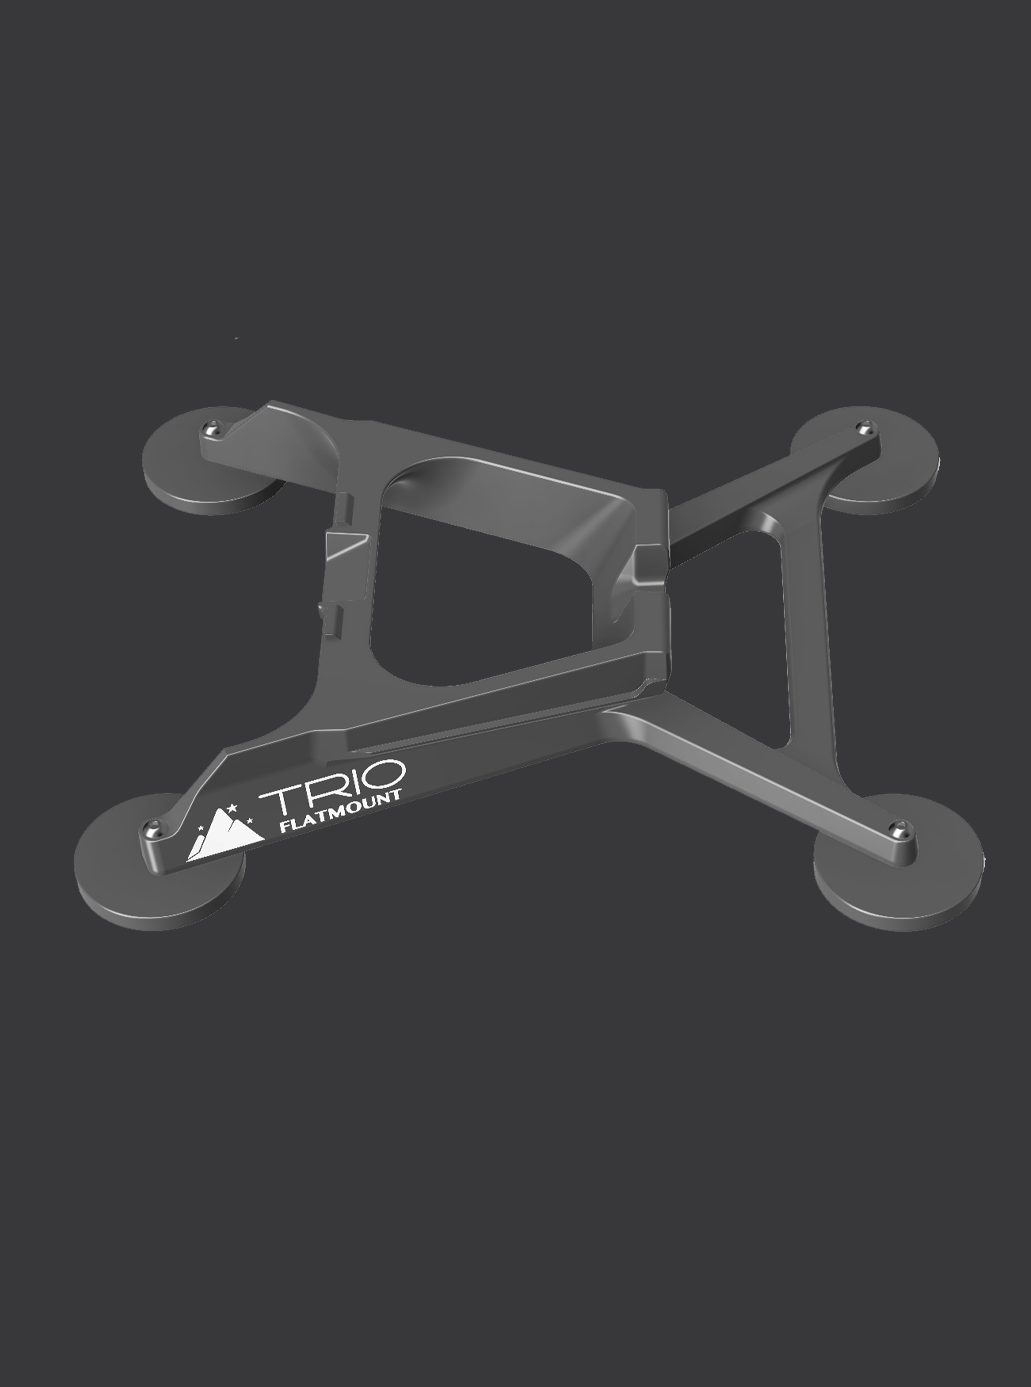
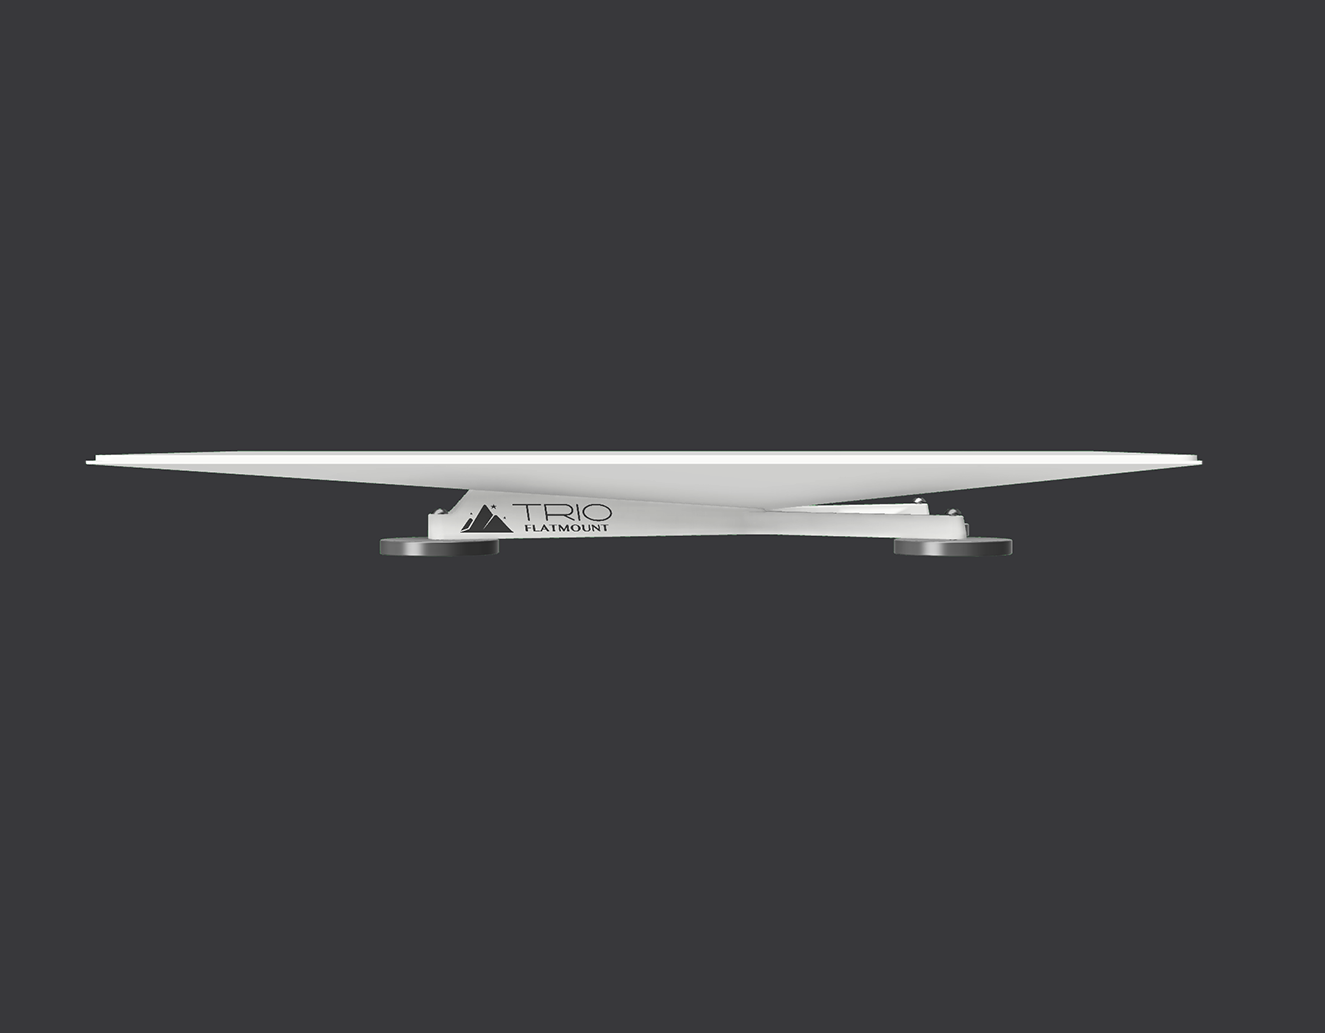
The TRIO Flatmount is a low profile mounting solution for those wanting to mount their Gen 3 Standard Starlink dish in a secure and convenient way on their boat, RV, or vehicle. Simply press the tabs on the Starlink kickstand and slide it out, and slide in the TRIO flatmount until it clicks in firmly and you’re all set!

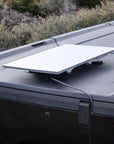
The Gen 3 TRIO Flatmount is intended for permanent or temporary installation on any vehicle: Vans, RVs, Box Trucks, Campers, Boats, Sailboats, etc. There are multiple mounting options as noted in the drop down menu.

NOTE: If you have a curved roof, the mount itself has slight flex but you may need to use our pivoting leg adapters for maximum surface area contact when using rubber coated magnets, VHB landing pads, or suction cups. Please add to your order if required.

** Release Lever: Fixed mount options (through bolt and VHB adhesive) include our custom designed lever to allow easy removal of the dish from the mount when desired. This allows the user to quickly remove it from the vehicle and reinstall the starlink kickstand to deploy in another location (e.g. to use at home or away from vehicle when parked under trees)

** Strength: This mount has been designed to be used (and has been tested) in normal driving conditions and turbulence but it is recommended to install behind another item (e.g. AC unit, storage box, etc) for wind dampening and to protect the dish. It is ultimately up to the end user to make sure the antenna mount is secured appropriately. If fully mounting in a fully exposed location and/or using at highway speeds or faster we recommend our Gen 3 Speedmount.

Made in BC, Canada.

For additional info and mounting instructions, see below.
Color:
Mounting Options:
Quantity:
Add To Cart

The TRIO Flatmount is a low profile mounting solution for those wanting to mount their Gen 3 Standard Starlink dish in a secure and convenient way on their boat, RV, or vehicle. Simply press the tabs on the Starlink kickstand and slide it out, and slide in the TRIO flatmount until it clicks in firmly and you’re all set!

The Gen 3 TRIO Flatmount is intended for permanent or temporary installation on any vehicle: Vans, RVs, Box Trucks, Campers, Boats, Sailboats, etc. There are multiple mounting options as noted in the drop down menu.

NOTE: If you have a curved roof, the mount itself has slight flex but you may need to use our pivoting leg adapters for maximum surface area contact when using rubber coated magnets, VHB landing pads, or suction cups. Please add to your order if required.

** Release Lever: Fixed mount options (through bolt and VHB adhesive) include our custom designed lever to allow easy removal of the dish from the mount when desired. This allows the user to quickly remove it from the vehicle and reinstall the starlink kickstand to deploy in another location (e.g. to use at home or away from vehicle when parked under trees)

** Strength: This mount has been designed to be used (and has been tested) in normal driving conditions and turbulence but it is recommended to install behind another item (e.g. AC unit, storage box, etc) for wind dampening and to protect the dish. It is ultimately up to the end user to make sure the antenna mount is secured appropriately. If fully mounting in a fully exposed location and/or using at highway speeds or faster we recommend our Gen 3 Speedmount.

Made in BC, Canada.

For additional info and mounting instructions, see below.
Gen 3 12V Power Supply
12V Connection Type:

The TRIO Flatmount is a low profile mounting solution for those wanting to mount their Gen 3 Standard Starlink dish in a secure and convenient way on their boat, RV, or vehicle. Simply press the tabs on the Starlink kickstand and slide it out, and slide in the TRIO flatmount until it clicks in firmly and you’re all set!

The Gen 3 TRIO Flatmount is intended for permanent or temporary installation on any vehicle: Vans, RVs, Box Trucks, Campers, Boats, Sailboats, etc. There are multiple mounting options as noted in the drop down menu.

NOTE: If you have a curved roof, the mount itself has slight flex but you may need to use our pivoting leg adapters for maximum surface area contact when using rubber coated magnets, VHB landing pads, or suction cups. Please add to your order if required.

** Release Lever: Fixed mount options (through bolt and VHB adhesive) include our custom designed lever to allow easy removal of the dish from the mount when desired. This allows the user to quickly remove it from the vehicle and reinstall the starlink kickstand to deploy in another location (e.g. to use at home or away from vehicle when parked under trees)

** Strength: This mount has been designed to be used (and has been tested) in normal driving conditions and turbulence but it is recommended to install behind another item (e.g. AC unit, storage box, etc) for wind dampening and to protect the dish. It is ultimately up to the end user to make sure the antenna mount is secured appropriately. If fully mounting in a fully exposed location and/or using at highway speeds or faster we recommend our Gen 3 Speedmount.

Made in BC, Canada.

For additional info and mounting instructions, see below.
  • Manufactured from waterproof and UV thermoplastic that will not warp.

    For fixed mount options (through bolt and VHB adhesive) our custom designed lever will be included to allow easy removal of the dish from the mount when desired. This allows the user to quickly remove it from the vehicle and reinstall the starlink kickstand to deploy in another location (e.g. to use at home or away from vehicle when parked under trees)

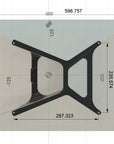
  • Overall Dimensions: 1.53"H x 10”W x 12"L

    (Total height to top of Gen 3 dish when mounted is 2”)

    Color options: Black or White

    Mounting options: Through-bolt, magnets, VHB adhesive mounting pads, combination of VHB adhesive and magnets, suction cups, and tilting leg option for curved surfaces.

  • IMPORTANT NOTE: Many factors beyond TRIO Flatmount’s control and uniquely within user’s knowledge and control can affect the use and performance of a mounting product in a particular application. Given the variety of factors that can affect the use and performance of a TRIO Flatmount product, user is solely responsible for evaluating the product and determining whether it is fit for a particular purpose and suitable for user’s method of application.

    __________

    Through Bolt:

    1. Place TRIO flatmount on top of desired mounting surface. Use a sharp pencil to mark each of the 4 holes onto the surface.

    2. Drill through the marks using appropriately sized drill bit (M6 bolts used for gen 3 mounts). If drilling through metal, be sure to file and use a primer/paint to prevent rust from forming on the exposed metal before moving forward.

    3. Feed bolts through spaces at each of the 4 feet on the TRIO Flatmount and through the drilled mounting surface. THE TRIO FLATMOUNT LOGO (AND DISH CORD) SHOULD BE POINTED TOWARDS THE BACK (TRAILING EDGE) OF YOUR VEHICLE/BOAT/RV ETC.

    4. Slide washer and locknut onto the end of each bolt and tighten using the hex key provided and a wrench.

    5. Slide the Starlink dish onto the TRIO Flatmount until it clicks firmly into place and make sure it is secure… and enjoy your internet!

    __________

    Magnetic Feet:

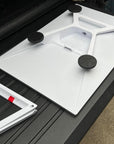
    1. Feed bolts (blue loctite already applied) through spaces at each of the 4 feet on the TRIO Flatmount

    2. Thread the screws into the magnets and tighten using the hex key supplied.

    3. Slide the Starlink dish onto the TRIO Flatmount until it clicks firmly into place and make sure it is secure

    4. Ensure your magnetic surface and the mounting magnets are clean and free of debris

    5. Place TRIO flatmount onto magnetic surface and make sure there is good contact. THE TRIO FLATMOUNT LOGO (AND DISH CORD) SHOULD BE POINTED TOWARDS THE BACK (TRAILING EDGE) OF YOUR VEHICLE/BOAT ETC.

    6. Enjoy your internet!

    **When removing from the vehicle, lift from the rear portion of the mount itself rather than using the dish as a lever.

    __________

    Magnet & VHB backed magnetic mounting discs:

    1. Feed bolts (blue loctite already applied) through spaces at each of the 4 feet on the TRIO Flatmount

    2. Thread the screws into the magnets and tighten using the allen key supplied.

    3. Attach one VHB backed magnetic mounting disc to each of the magnetic feet, ensuring each are free of debris.

    4. PLEASE NOTE: the mounting substrate that your mounting discs will be stuck to should be non-porous and smooth. It is recommended to lightly scuff the surface you will be sticking the VHB discs to using a scotch pad. HOWEVER, do this at your discretion as doing so will scratch the finish of your mounting surface. Use isopropyl alcohol wipes to clean the scuffed surface you wish to secure the VHB mounting discs to.

    5. Remove the red VHB sticker cover and carefully place the flat mount with the exposed VHB mounting discs onto the freshly cleaned surface. THE TRIO FLATMOUNT LOGO (AND DISH CORD) SHOULD BE POINTED TOWARDS THE BACK (TRAILING EDGE) OF YOUR VEHICLE/BOAT/RV ETC.

    6. Apply firm pressure through the mounting feet to ensure adhesion. If possible, place heavy object on top of the mount for 24 hrs to optimize adhesion (ideal application temperature is 70-100F).

    7. Slide the Starlink dish onto the TRIO Flatmount until it clicks firmly into place and make sure it is secure… and enjoy your internet!

    **When removing from the vehicle, lift from the rear portion of the mount itself rather than using the dish as a lever.

    __________

    VHB Landing Pads:

    1. Feed bolts (blue loctite already applied) through spaces at each of the 4 feet on the TRIO Flatmount

    2. Thread the screws into the landing pads and tighten using the allen key supplied.

    3. PLEASE NOTE: the mounting substrate that your landing pads will be stuck to should be non-porous and smooth. It is recommended to lightly scuff the surface you will be sticking the VHB discs to using a scotch pad. HOWEVER, do this at your discretion as doing so will scratch the finish of your mounting surface. Use isopropyl alcohol wipes to clean the scuffed surface you wish to secure the VHB pads onto.

    4. Remove the red VHB sticker cover and carefully place the flatmount (with the exposed VHB pads) onto the freshly cleaned surface. THE TRIO FLATMOUNT LOGO (AND DISH CORD) SHOULD BE POINTED TOWARDS THE BACK (TRAILING EDGE) OF YOUR VEHICLE/BOAT/RV ETC.

    5. Apply firm pressure through the mounting feet to ensure adhesion. If possible, place heavy object on top of the mount for 24 hrs to optimize adhesion (ideal application temperature is 70-100F).

    6. Slide the Starlink dish onto the TRIO Flatmount until it clicks firmly into place and make sure it is secure… and enjoy your internet!

    __________

    Suction Cups:

    1. Feed bolts (blue loctite already applied) through spaces at each of the 4 feet on the TRIO Flatmount

    2. Thread the screws into the landing pads and tighten using the allen key supplied.

    3. PLEASE NOTE: The mounting substrate that your suction cups will be stuck to should be non-porous, clean, and smooth. Inspect the suction cup to ensure it too is free of dirt and debris.

    4. Place the TRIO flatmount with suction cups onto the freshly cleaned surface. THE TRIO FLATMOUNT LOGO (AND DISH CORD) SHOULD BE POINTED TOWARDS THE BACK (TRAILING EDGE) OF YOUR VEHICLE/BOAT ETC.

    5. To attach, apply gentle downward pressure on the suction cups to ensure that the entire edge of the cup is touching the surface. Then, simply press the pump repeatedly until the colored indicator band completely disappears.

    6. Slide the Starlink dish onto the TRIO Flatmount until it clicks firmly into place and make sure it is secure… and enjoy your internet!

    ** To remove the cups, lift the edge of the vacuum pad away from the surface by pulling the tab on the edge up and towards the center of the vacuum mount. You’re really just trying to lift the edge of the vacuum pad up off the mounting surface, which breaks the seal and lets you remove your mount.

    ** NOTE - if you'll be mounting on a completely flat surface then water may pool on top of the dish. To avoid this we recommend using SS washers to raise up one side a few degrees to allow water to run off.

  • ⚠ Using Starlink™ in motion may violate your Terms of Service depending on your service location. Consult your Terms of Service to determine if this applies to you.

    ⚠ Given the varying conditions of surfaces this can be mounted to, it is ultimately up to the end user to make sure the antenna mount is sufficiently secured. By purchasing and using this product, you agree to waive any claims that you may have against TRIO Flatmount, www.trioflatmount.com, and included entities, from any and all liability for any loss, damage, expense or injury, including death, that may suffer as a result of the use of the product, due to any cause whatsoever.

  • Please visit our FAQ page for our return policy and our warranty.

    https://www.trioflatmount.com/faq

Gen 2 Standard Actuated TRIO Flatmount
from US$350.00
Sold Out
Gen 3 Starlink TRIO Pole Mount
from US$120.00